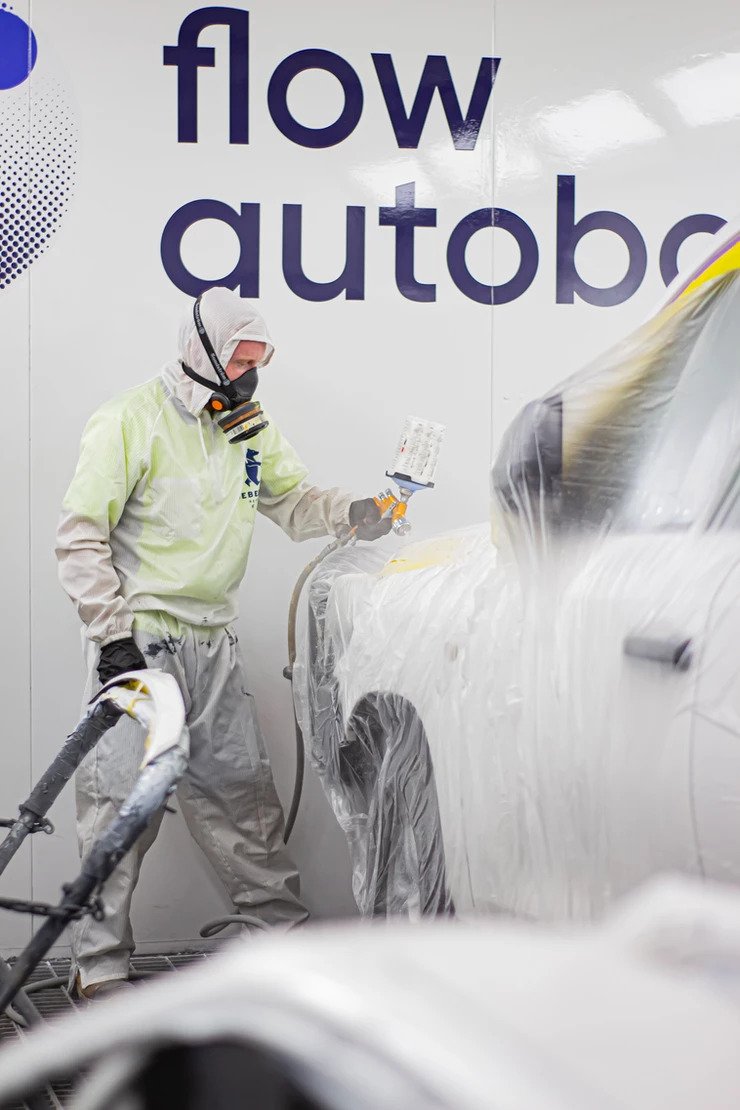
Refinishing pertains to bringing back the original state (colour, shine, finish, and protective qualities) of an automobile’s painted panels. This is a highly technical process that requires skill and a good eye for detail. A lot of prep work goes into refinishing as it requires that the panels are completely free from rust, scratches, and imperfections before the painter begins working the spray gun. The process itself seems pretty straightforward: fill the gun with paint and spray away, however, it’s actually not that simple. In this article, we’ll get a glimpse of what goes on inside the spray booth workshop.
The first thing that’s applied to the car’s raw metal substrate is primer. The primer creates a smooth surface for the paint to adhere to as it fills in scratches or builds severely damaged areas. There are different types of primer, each one used depending on the condition of the panels: epoxy primer, high-build primer and wet-on-wet primer. The panels are then sanded until smooth.
This is the part that probably most people are familiar with. The base coat is the coloured paint of the car. It’s usually applied in 2-3 layers depending on the colour needed. To finish off the base coat, what’s called a ‘technique coat’ (which is essentially the same coating as the base coat) is applied using a different application setting in order to achieve the desired finish.
The painter then sprays a layer of clear coat to give the paint a sleek and shiny finish. This coating also provides protection from UV rays and minor scratches.
The panels are baked at 60 degrees celsius for 30 minutes. This ensures that all the layers are fully cured and dry. The panels are then waxed for added shine and protection.
Watch Flow director Jai Aguilar and expert spray painter Shane Buckley go through the refinishing process in this commentary:
Hot Reads